Painting an RC Car body can seem intimidating, but it’s actually much easier than you might expect. Painting your RC car body can completely transform its appearance and give it an extra dose of personality. If you’ve never painted an RC car before, don’t be intimidated — it’s simpler than it looks.
In this post, we’ll take a look at the four easy steps for painting an RC car body and give tips on choosing the right supplies along the way!
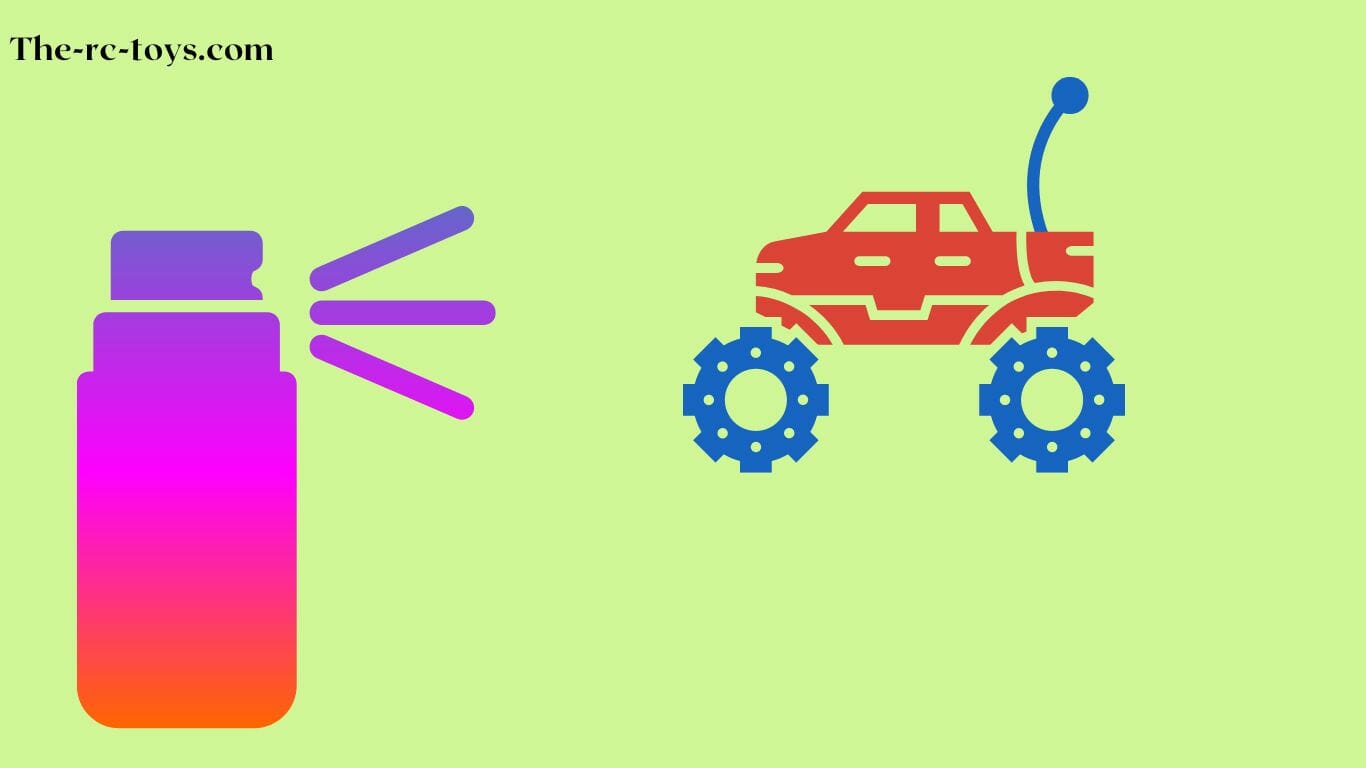
Tools & Supplies Required for paint RC Car:
If you’re looking to customize your RC car with a paint job, you’ll need the right tools and supplies. Trying to figure out what you’ll need for a successful project can be overwhelming, so we’ve put together this handy guide! We’ll outline all of the necessary materials and some optional items to help get you started on your painting journey.
The Basics
First and foremost, you’ll need paint. Any acrylic paint will do; just make sure it’s formulated specifically for plastic or metal surfaces. You should also pick up primer before beginning your project; this will give you a smooth base layer that is ideal for painting. Finally, finishing spray is essential to protect your work once it’s completed.
Tools & Supplies
In addition to the aforementioned items, you may also want to purchase other tools and supplies, such as sandpaper and masking tape. Sandpaper is great for scuffing up the car body before painting; this creates a rougher surface which helps ensure better adhesion of the paint. Masking tape is useful for creating clean lines when applying multiple layers of paint or adding decals or designs onto your car body. Other helpful items include:
- Airbrushes (for more detailed work).
- Brushes (for larger areas).
- Foam brushes (for hard-to-reach spots).
Lastly, don’t forget about safety gear! Make sure that you have protective eyewear and gloves on hand while working on your project; these will help protect you from any dust, debris, or liquids that may come into contact with your skin while painting.
How Much Weight Can an RC Car Pull
Final words:
With all of these tools and supplies ready at your disposal, there’s nothing stopping you from giving your RC car a custom look! So grab those paints, pull out the sandpaper—and get creative! And remember, safety comes first! Be sure to follow all instructions carefully when using any chemicals or power tools during your painting process. Always use protective eyewear and gloves while working on any project involving hazardous materials. Happy painting!
4 easy steps to paint an RC Car body:
1). Start by cleaning the car body
Start by cleaning any dirt and dust off the car body with a soft clean cloth or rag. This will create a strong base for your paint coat to stick to, so it will last longer and give your car that perfect finish. Be sure to also pay special attention to any nooks or cracks, as this is where dirt and residue could become trapped and affect the overall look of your paint job.
Before start:
- Wash your RC car body with dish detergent and warm water to remove any dirt or debris from the surface.
- Wash off any excess dirt with a soft cloth and water sprayed from a hose or spray bottle.
- If there are any existing paint applications on your RC car body, use a razor blade or X-Acto knife to scrape it off before moving on to the next step.
Once you are satisfied with the prepping and cleaning stage, now it’s time to go to step two.
2). Apply First Coat
Painting an RC Car body is a fun way to get creative and can also help protect the body from damage and wear. To begin, you will need to use good quality spray paint that is designed for plastic surfaces.
Is it possible to use different remote with RC Car
Apply the first coat of paint by spraying it from a distance of 5-6 inches away from the car’s body. Start at one end and systematically move across the whole surface. Wait for this initial coat to dry before adding any more coats.
3). Add More Coats
Once the first coat has dried, you can begin to add more paint to customize your car further. When spraying additional coats, keep your movements slow and steady for a more even finish. It’s important to let each coat dry before applying another one – usually anywhere from 15-30 minutes, depending on the type of paint you are using.
4). Decorate and Add Finishing Touches
Once all your coats have been applied, it’s time to add the finishing touches. Choose some fun decals and stickers to help give it that extra bit of personality. With a few simple steps, you can go from a dull, plain RC car body to one with vibrant colors and eye-catching details.
To help your new paint job last longer, make sure to apply a good coat of clear automotive wax or sealant. This will help keep your car’s body looking great and protect it from the elements.
With these four simple steps, you can quickly transform your RC car body into something special. Good luck!
Conclusion:
Painting an RC car body is a great way to make your vehicle stand out and show off your creative side. It’s easy to do, with just four simple steps: cleaning the body, applying the first coat of paint, adding more coats, and finally decorating and adding finishing touches. With a bit of skill and patience, you can create a beautiful and unique finish for your RC car that will turn heads. Get ready to hit the track in style!